Upgrading your vehicle with the latest in-car technology enhances both convenience and security on the road. LD Electronics has released a new dash cam that offers these benefits.
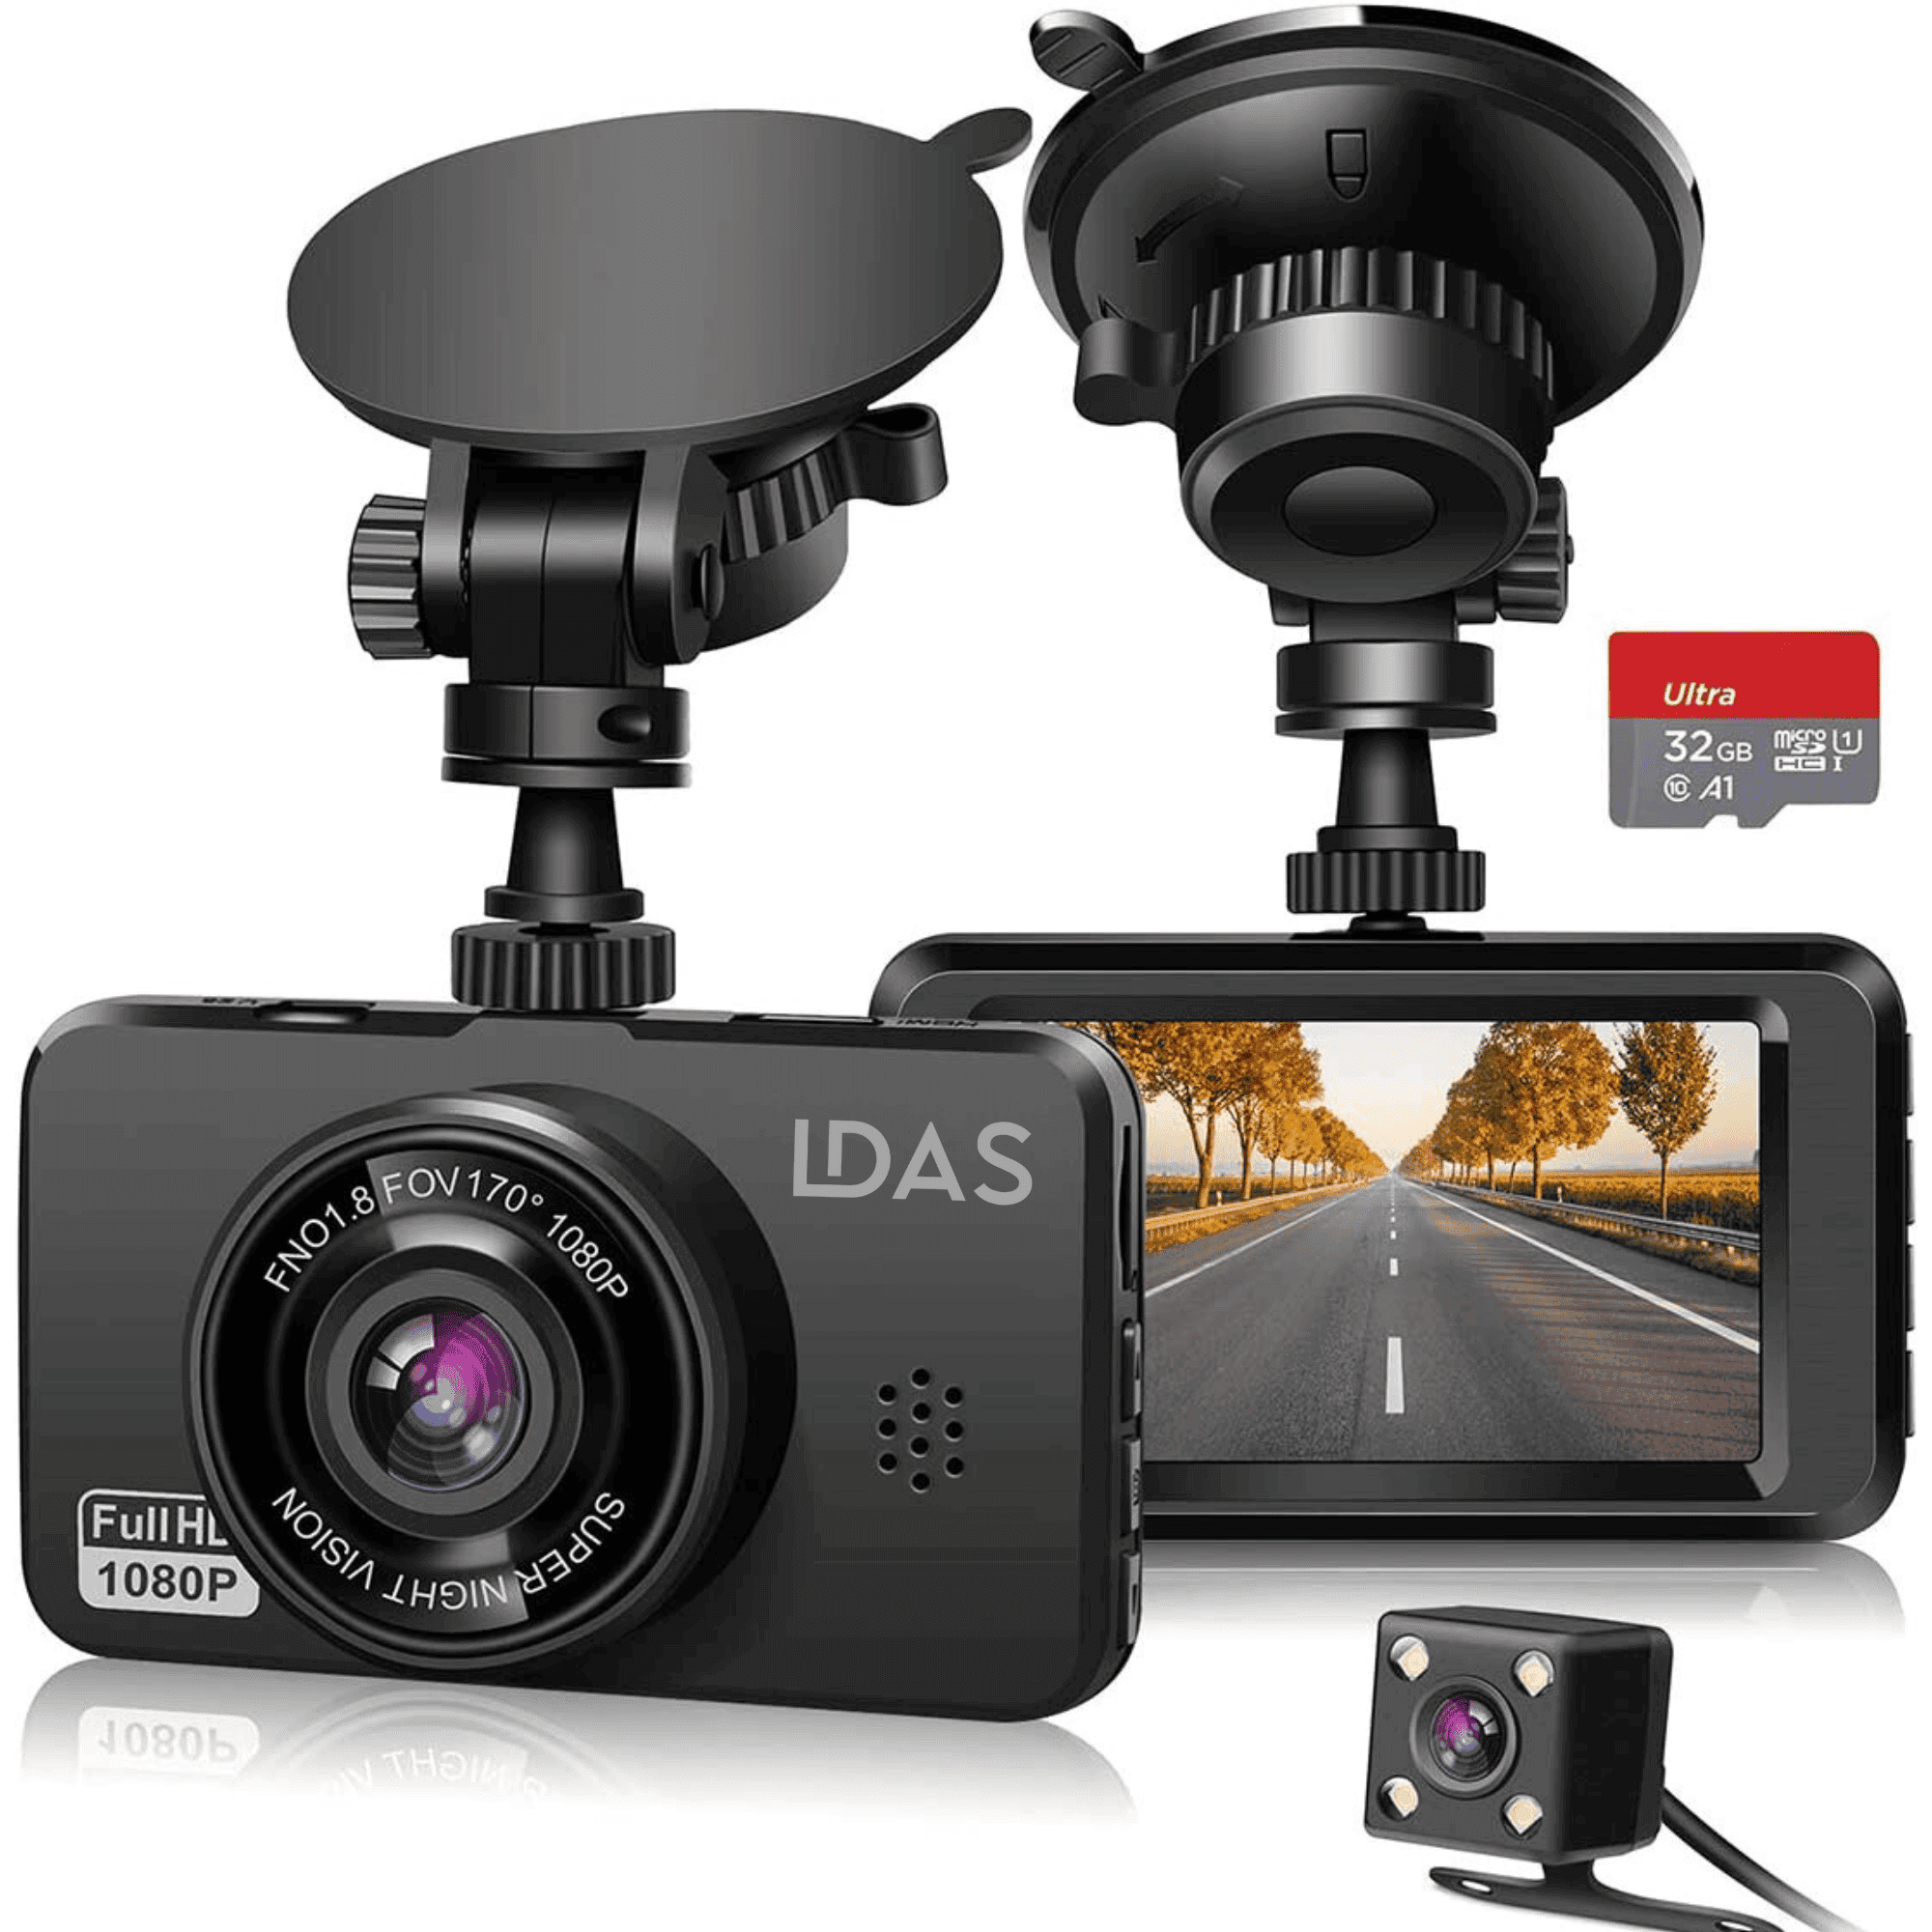
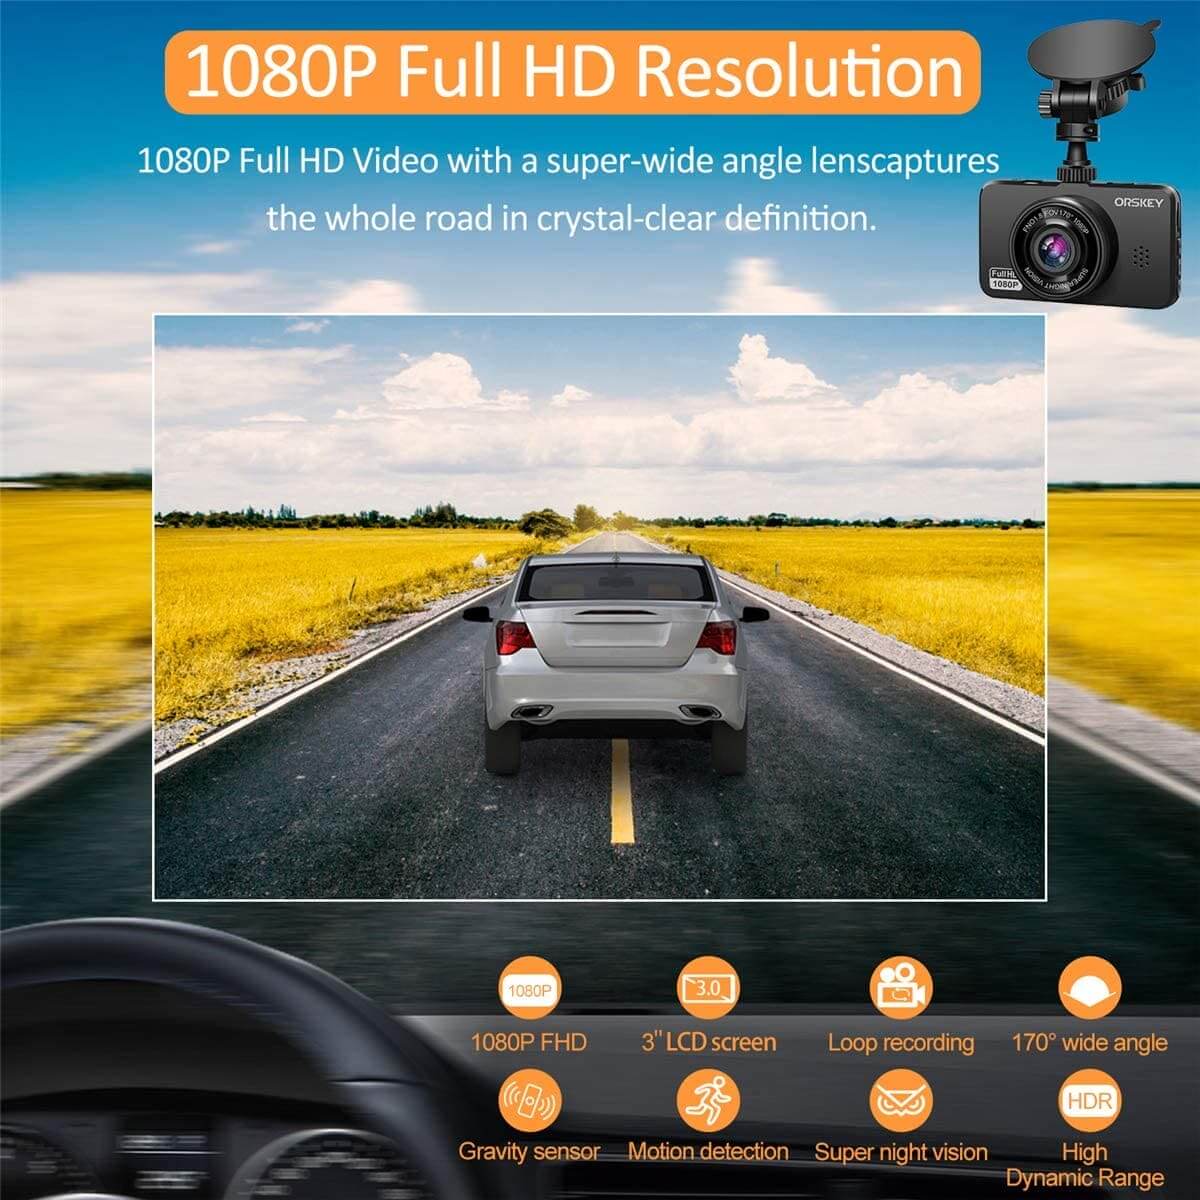
The front-facing camera is capable of recording in full HD 1080p. The camera also comes with a handy LCD display for easy configuration of settings and viewing footage. Additionally, it includes a rear-facing camera to cover multiple angles. To ensure a quick start, the kit provides a 32GB microSD card alongside a comprehensive set of installation tools.
The installation process is designed to be user-friendly. A simple suction cup mount is provided for the front camera, and several options are available for placing the rear camera to best suit different vehicle types. Both cameras can be powered via the vehicle's cigarette lighter, and the kit contains a long power cable to reach across the cabin. Thoughtful cable management tools are also included, allowing for a clean, professional-looking setup without obstructing visibility or vehicle operation.
Key Takeaways
- The dash cam kit features front and rear cameras with full HD recording and an LCD display for easy setup.
- Installation is straightforward, with all necessary tools and a clear instruction guideline for optimal camera placement and cable management.
- Once installed, the dash cam provides a seamless and unobtrusive surveillance solution with a secure and tidy finish.
Vehicle Camera System Insights
Characteristics of the Lead Camera
- Resolution: Captures footage with a Full HD 1080p resolution.
- Display: Equipped with a rear LCD display for configuration.
- Settings Management: User can adjust options and set language, date, and time.
Rear Camera and Installation Enhancements
- Supplementary Camera: Includes a secondary camera for rear-view recording.
- Installation Kit: Provided with all necessary tools for setup.
- Mounting Options: Rear camera can be attached using adhesive or screws, indoors or outdoors, with guidance included.
Storage Options with Included Memory Cards
- Memory Card Availability: Comes with a 32GB Micro SD card for storage.
- Integration: Memory card can be inserted into a designated slot on the device.
Installation Steps
- Attach the suction cup mount to the primary camera.
- Secure the primary camera to the windshield with suction, adjusting for optimal view.
- Rear camera installation varies by vehicle; suggestions and professional consultation advised.
- Power cords for cameras can be discreetly managed and concealed using included tools.
Cabling and Power
- Power cable for the primary camera connects to the vehicle's cigarette lighter.
- Rear camera's cable integrates at the front, hidden within the internal trim for a seamless look.
- Both cameras' cables are run and tucked away to avoid visibility, ensuring a neat installation.
Setting Up the Dashboard Camera
Establishing the Primary Camera
- Positioning the Suction Cup: Slide the attachment onto the camera's top surface.
- Securing to the Windshield: Peel off the protective layer from the suction cup, press firmly onto the glass, and twist the knob to engage the suction mechanism.
- Camera Orientation: Adjust the angle to preference.
- Power Connection: Insert the power cord into the designated slot at the camera's top.
Fixing the Secondary Camera
- Placement Determination: Refer to provided guidelines or seek professional advice to decide on the best mounting position inside or outside the vehicle.
- Adhering to Surface: Utilize the provided double-sided tape to attach securely to the windshield, ensuring not to obstruct defrosting elements.
- Cable Management: Use the included tool to conceal cables within the vehicle’s trimmings.
- Connecting Power: Route the power cord to the front, integrating it with the vehicle's interior to keep it out of sight.
Note: Ensure both cameras are adequately powered, and their cables are neatly arranged to maintain a clutter-free look.
Organizing In-Vehicle Camera Wires
Routing of the Front Dash Cam Cables
- Positioning the Device: Mount the front dash cam by sliding the suction holder onto the unit’s top and adhere it to the windshield using the suction mechanism.
- Cable Connection: Attach the power wire to the dash cam’s upper port.
- Concealment Path*: Strategically route the power wire by tucking it into the vehicle’s interior trim. Guide it down to the area beneath the dashboard, ensuring it remains unseen.
- Final Point: The cable extends from the cam, hidden along the trim, to the power source in the cigarette lighter port.
Hiding the Back Dash Cam Cables
- Camera Placement: Choose a location for the rear dash cam based on vehicle type or after consulting the manual or a professional. Options include attaching to the exterior or adhering inside using provided double-sided tape.
- Securing Camera: If using the adhesive, avoid placement over defrost lines to ensure a firm hold to the glass.
- Cable Management Tool: Use the included tool to discreetly tuck the rear camera's power cable within the trim.
- Power Connection: The rear camera’s cable connects at the front of the vehicle, alongside the front cam’s cabling.
- Preliminary Setup: Initially, the rear camera cable may dangle, but plans can be made to run it along the windshield for full concealment.
*Tables are not utilized as the information provided did not contain data suitable for tabular presentation. Bullet points and bold text have been used to clearly differentiate steps and key elements in the cable management process.
Completing the Assembly and First Thoughts
Upon completing the assembly of LD Electronics' car dash cam, the included front-facing camera provides a crisp 1080p full HD image.
The integrated LCD screen on the rear allows for straightforward customization of settings such as language selection and date and time adjustment.
In the box, the essentials are plentiful, featuring:
- A 32GB microSD card, insertable on the camera's side slot for ample storage.
- The second camera, aimed rearwards, enhances overall visibility.
- An extended charging cable for the front camera that connects to the vehicle's cigarette lighter for power.
- Comprehensive tools for the install, ensuring that no additional purchases are necessary.
Installation begins with attaching the front camera using a suction cup mechanism, which slides into place with ease at its top.
Following this:
- The backing film of the suction cup is peeled off, and the cup is firmly placed onto the windshield.
- A knob on the suction cup gets twisted to create a secure vacuum, keeping the camera steadily mounted.
- The desired angle is then achieved by rotating the camera.
For the rear camera, placement can vary based on the vehicle type, with the option to:
- Follow included guidelines or seek professional advice for the ideal spot.
- Use the provided double-sided tape for a reliable attachment to the glass, keeping defrost lines in consideration.
An additional tool provided within the kit aids in discreetly routing the cables, allowing them to be tucked neatly within the car's trim.
Impressively, the front camera's power cable is concealed under the dashboard and the passenger side trim, rendering it virtually invisible as it connects to the power source.
For the rear camera:
- The power cable seamlessly integrates with the front setup.
- The camera attaches solidly to the rear windshield.
- Cables can be dressed more inconspicuously in the future, but even in the current arrangement, they impose minimal visual intrusion.
This installation, with its clarity and ease, underscores the simplicity of equipping a vehicle with additional safety measures.
The dual camera setup communicates a sense of security, as it captures both front and rear perspectives with minimal aesthetic impact on the vehicle's interior.


